Discover how to create your own DIY mask to target specific skin concerns such as hydration or acne.
How to Create a DIY Mask for Specific Skin Concerns Like Hydration or Acne
In today’s fast-paced world, taking care of your skin can sometimes feel like a luxury. With so many products on the market claiming to solve all your skin concerns, it’s easy to get overwhelmed. But what if I told you that you can create your own DIY mask from the comfort of your own home? That’s right! In this article, we’ll explore the world of DIY masks and how you can tailor them to address specific skin concerns, such as hydration or acne. So grab your ingredients and let’s get started!
Understanding Your Skin Type
Before we dive into the world of DIY masks, it’s important to understand your skin type. Are you oily, dry, or somewhere in between? Knowing your skin type will help you choose the right ingredients for your DIY mask. If you’re not sure, take a moment to observe your skin. Is it shiny and prone to breakouts? You might have oily skin. Is it tight and rough? You might have dry skin. Determining your skin type is the first step in creating a mask that will work wonders for you!
Understanding your skin type goes beyond just the surface. It involves delving into the intricate balance of your skin’s natural oils, moisture levels, and overall texture. By understanding these factors, you can tailor your DIY mask to address specific concerns and promote a healthy complexion.
If you have oily skin, your skin produces an excess amount of sebum, the natural oil that keeps your skin moisturized. This can lead to a shiny appearance and make you more prone to breakouts. On the other hand, if you have dry skin, your skin lacks the necessary oils to keep it hydrated, resulting in tightness and roughness. It’s also possible to have combination skin, where some areas of your face are oily while others are dry.
Identifying Your Skin Concerns
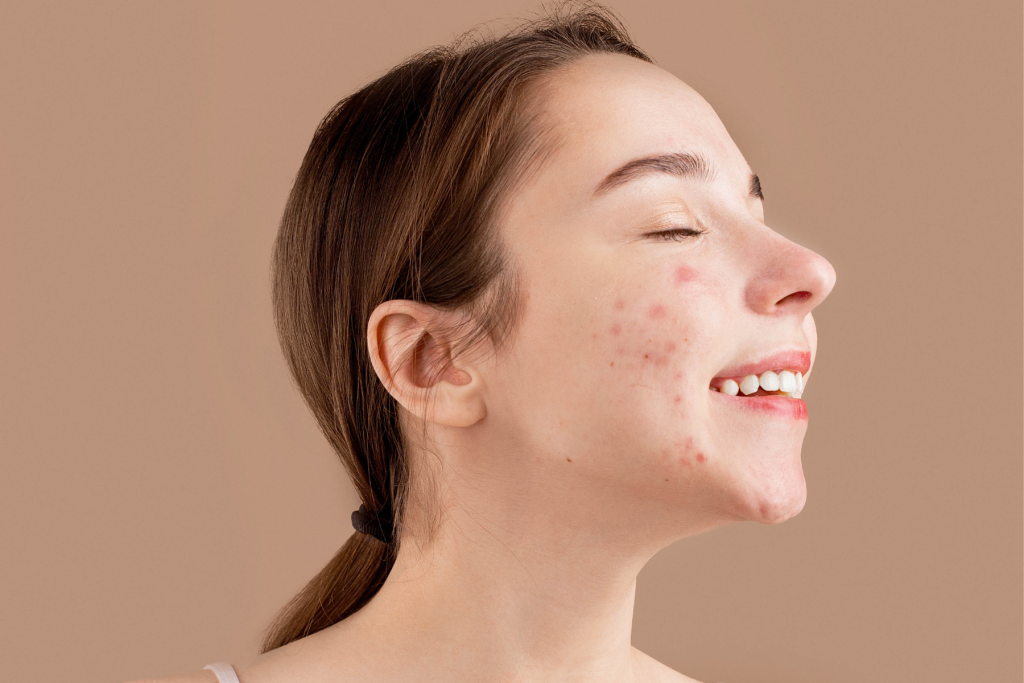
Once you’ve identified your skin type, it’s time to pinpoint your specific skin concerns. Are you in need of extra hydration to plump up dry skin? Or are you battling pesky acne that just won’t go away? Knowing your skin concerns will help you choose the right ingredients to target those problem areas. So take a moment to analyze your skin and jot down any concerns you have. This will come in handy when we start mixing up our DIY masks!
Identifying your skin concerns is like creating a roadmap to healthier skin. It allows you to address specific issues that may be affecting your complexion and develop a personalized skincare routine. Whether it’s fine lines and wrinkles, uneven skin tone, or sensitivity, understanding your skin concerns will guide you towards the most effective ingredients and treatments.
The Importance of Knowing Your Skin Type
Knowing your skin type is crucial when it comes to creating a DIY mask. Different skin types require different ingredients to achieve maximum results. For example, if you have dry skin, you’ll want to focus on ingredients that provide intense hydration, like honey or avocado. On the other hand, if you have oily skin, you’ll want to steer clear of heavy oils and opt for ingredients like clay or tea tree oil that help control the excess sebum. By knowing your skin type, you’ll be able to create a mask that caters to your specific needs.
Understanding your skin type not only helps you choose the right ingredients but also allows you to avoid potential irritants. Using products that are not suitable for your skin type can lead to clogged pores, breakouts, or even allergic reactions. By being aware of your skin type, you can make informed decisions about the products you use and ensure that your DIY mask is both effective and gentle on your skin.
Moreover, knowing your skin type opens up a world of possibilities for customization. You can experiment with various ingredients and formulations to address specific concerns while taking into account the unique characteristics of your skin. This level of personalization can result in a truly transformative skincare experience.
The Basics of DIY Face Masks
Now that you have a good understanding of your skin type and concerns, let’s dive into the basics of DIY face masks. DIY masks are a fun and cost-effective way to pamper your skin. Not only can they address specific concerns, but they can also be customized to suit your preferences. The possibilities are endless! But before we start mixing up our magical concoctions, there are a few essential ingredients and safety tips you need to know.
Essential Ingredients for DIY Masks
Gather around, skincare enthusiasts! It’s time to unveil the essential ingredients for your DIY masks. These ingredients are the secret sauce that will take your skincare game to the next level. For hydration, consider using ingredients like honey, aloe vera, or cucumber.
Honey is a natural humectant, which means it helps to retain moisture in the skin. It also has antibacterial properties, making it an excellent choice for acne-prone skin. Aloe vera, on the other hand, is known for its soothing and healing properties. It can help calm inflammation and reduce redness. And let’s not forget about cucumber! This cooling ingredient is perfect for soothing tired and puffy skin.
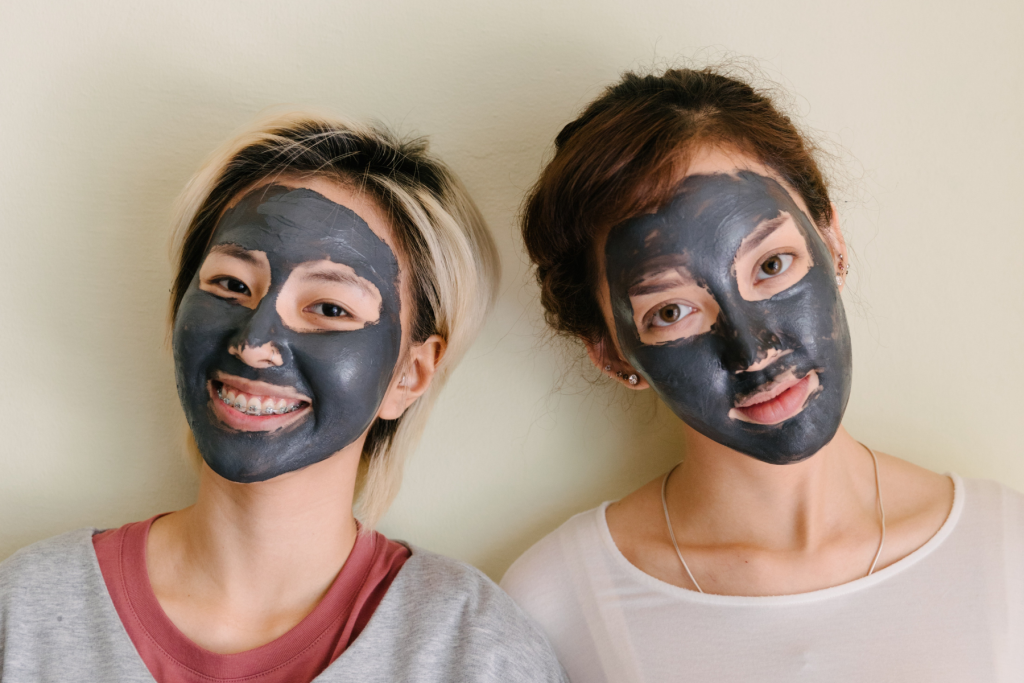
To combat acne, try incorporating tea tree oil, witch hazel, or charcoal into your mask. Tea tree oil has antimicrobial properties that can help kill acne-causing bacteria. Witch hazel, on the other hand, is a natural astringent that can help shrink pores and reduce oil production. And if you’re looking for a deep cleanse, charcoal is your best friend. It acts like a magnet, drawing out impurities and toxins from the skin.
These ingredients have been used for centuries to improve the appearance of the skin. So stock up on these beauty superstars and get ready to create some skincare magic!
Safety Tips for DIY Skincare
As much as we love DIY masks, safety should always come first. Before you start mixing up your ingredients, make sure to do a patch test to ensure you’re not allergic to any of them. Apply a small amount of the mixture on your wrist and wait 24 hours to check for any adverse reactions.
Additionally, always use clean tools and containers to prevent the growth of harmful bacteria. Cleanse your tools thoroughly before and after each use to maintain good hygiene. You don’t want any unwanted bacteria or dirt on your face while you’re trying to achieve that healthy glow!
If you’re unsure about an ingredient or method, do your research or consult with a skincare professional. They can provide valuable insights and recommendations based on your specific skin concerns and needs. Your skin deserves only the best!
Creating a DIY Mask for Hydration
Are you ready to quench your skin’s thirst? Creating a DIY mask for hydration is easier than you think. Here’s what you’ll need:
- Honey
- Oatmeal
- Avocado
Step 1: In a small bowl, mash half an avocado until it forms a smooth paste.
Avocado is a fantastic ingredient for hydrating the skin. It is rich in healthy fats and natural oils that help to moisturize and nourish the skin. The creamy texture of avocado makes it perfect for creating a smooth and luxurious mask.
Step 2: Add a spoonful of honey and a tablespoon of oatmeal to the bowl.
Honey is a natural humectant, meaning it attracts and retains moisture in the skin. It also has antibacterial properties that can help prevent acne and soothe inflammation. Oatmeal, on the other hand, is known for its soothing and exfoliating properties. It helps to remove dead skin cells and reveal a brighter complexion.
Step 3: Mix all the ingredients until well combined.
Take your time to thoroughly mix the avocado, honey, and oatmeal together. You want to ensure that all the ingredients are evenly distributed to maximize their benefits. The mixture should have a smooth and creamy consistency.
Step 4: Apply the mask to your face and leave it on for 15-20 minutes.
Using clean fingers or a brush, gently apply the mask to your face, avoiding the delicate eye area. Take this opportunity to pamper yourself and enjoy the cooling and refreshing sensation of the mask on your skin. The mask will work its magic, deeply hydrating and nourishing your skin.
Step 5: Rinse off with warm water and pat dry.
After the recommended time has passed, it’s time to remove the mask. Rinse your face with warm water, massaging in circular motions to gently exfoliate the skin. Make sure to remove all traces of the mask to reveal a clean and fresh complexion. Pat your face dry with a soft towel, being careful not to rub or irritate the skin.
Voila! You’ve just created a hydrating mask that will leave your skin feeling refreshed and revitalized. Repeat this pampering session once or twice a week to maintain hydrated, glowing skin.
Remember, self-care is essential, and taking the time to indulge in a DIY mask is a wonderful way to treat yourself. Enjoy the process and embrace the benefits of natural ingredients for your skin. Your skin will thank you for the extra hydration and nourishment.
Crafting a DIY Mask for Acne
Acne be gone! Say goodbye to those pesky breakouts with a DIY mask specially crafted to combat acne. Here’s what you’ll need:
- Bentonite clay
- Tea tree oil
- Apple cider vinegar
Step 1: In a small bowl, mix one tablespoon of bentonite clay with one drop of tea tree oil.
Step 2: Add enough apple cider vinegar to create a paste-like consistency.
Step 3: Apply the mask to your face, focusing on the areas prone to breakouts.
Step 4: Leave the mask on for 10-15 minutes or until it starts to dry.
Step 5: Rinse off with warm water and pat dry.
There you have it! A powerful acne-fighting mask that will help reduce inflammation and unclog your pores. Use this mask once a week for clearer, blemish-free skin. Hello, self-confidence!
Other DIY Masks for Common Skin Concerns
But wait, there’s more! In addition to hydration and acne, there are numerous DIY masks for other common skin concerns. Let’s explore a couple:
DIY Mask for Oily Skin
Oily skin getting you down? Don’t fret! You can whip up a DIY mask that will help control excess oil and leave your skin matte and fresh. Combine two tablespoons of clay with a few drops of lemon juice and enough water to create a paste. Apply the mask to your face, let it sit for 10-15 minutes, then rinse off. Say hello to shine-free skin!
DIY Mask for Sensitive Skin
If you have sensitive skin, finding the right products can be a challenge. But fear not, for a DIY mask for sensitive skin is here to save the day. Mix together half a ripe banana, one tablespoon of yogurt, and a teaspoon of honey. Apply the mask to your face, leave it on for 15 minutes, then rinse off gently. Your skin will thank you for this soothing treat!
And there you have it, folks! A guide to creating your own DIY mask for specific skin concerns like hydration or acne. With a little creativity and the right ingredients, you can take your skincare routine to new heights. So go ahead, indulge in some self-care, and let your inner skincare guru shine!
